How to Make a 3D Print
In order to make a 3D print, you need a few things. You need a 3D printer (obviously), a roll of filament, a 3D model, and a slicer. Here is how to make a 3D print:
- The first step in creating a 3D print is to get a 3D model. You can create one yourself or download one off of the Internet. More on models on the Models and Slicing page.
-
The second step is to then slice your model. This will turn it into g-code and allow your printer to read and print the
model. Slicing a model is very easy. You must:
- Upload your model into the slicer
- Move and resize your model however you like
- Determine the layer height you want to print at
- Determine the infill percentage you want inside your model (this is how much plastic is on the inside of your model, 15%-50% is usually good)
- Determine the temperature you need to print at (there is a chart of material types and temperatures on the Printers and Filament page)
- Determine whether you need support or not (if there are sharp angles that hang with nothing below them you will probably want to enable support)
-
Determine whether you want a:
- Raft: Prints a layer of filament in which the model is printed on top of. Used to prevent warping and improve bed adhesion.
- Brim: Kind of like a raft, but it only prints filament connecting to the outer edge of the model. Also used to prevent warping and improve bed adhesion.
- Skirt: An outline that prints around the model. This does not aid the print at all, but it is good for getting the extruder ready to print as well as detecting issues that you may have while printing, which saves time and material.
- Save the g-code file onto a USB flash drive
- The third step is to insert the roll of filament into the 3D printer.
- The fourth step is to load the g-code file onto the printer using the flash drive.
- The final step is to hit print and let the printer do its thing!
Make sure to monitor any print you make and check back every few minutes/hours to make sure it hasn't failed. If a print fails it is probably due to your settings, so try to identify the problem and change the slicer settings accordingly. After the print is completed and removed, make sure to clean and wipe down the bed.
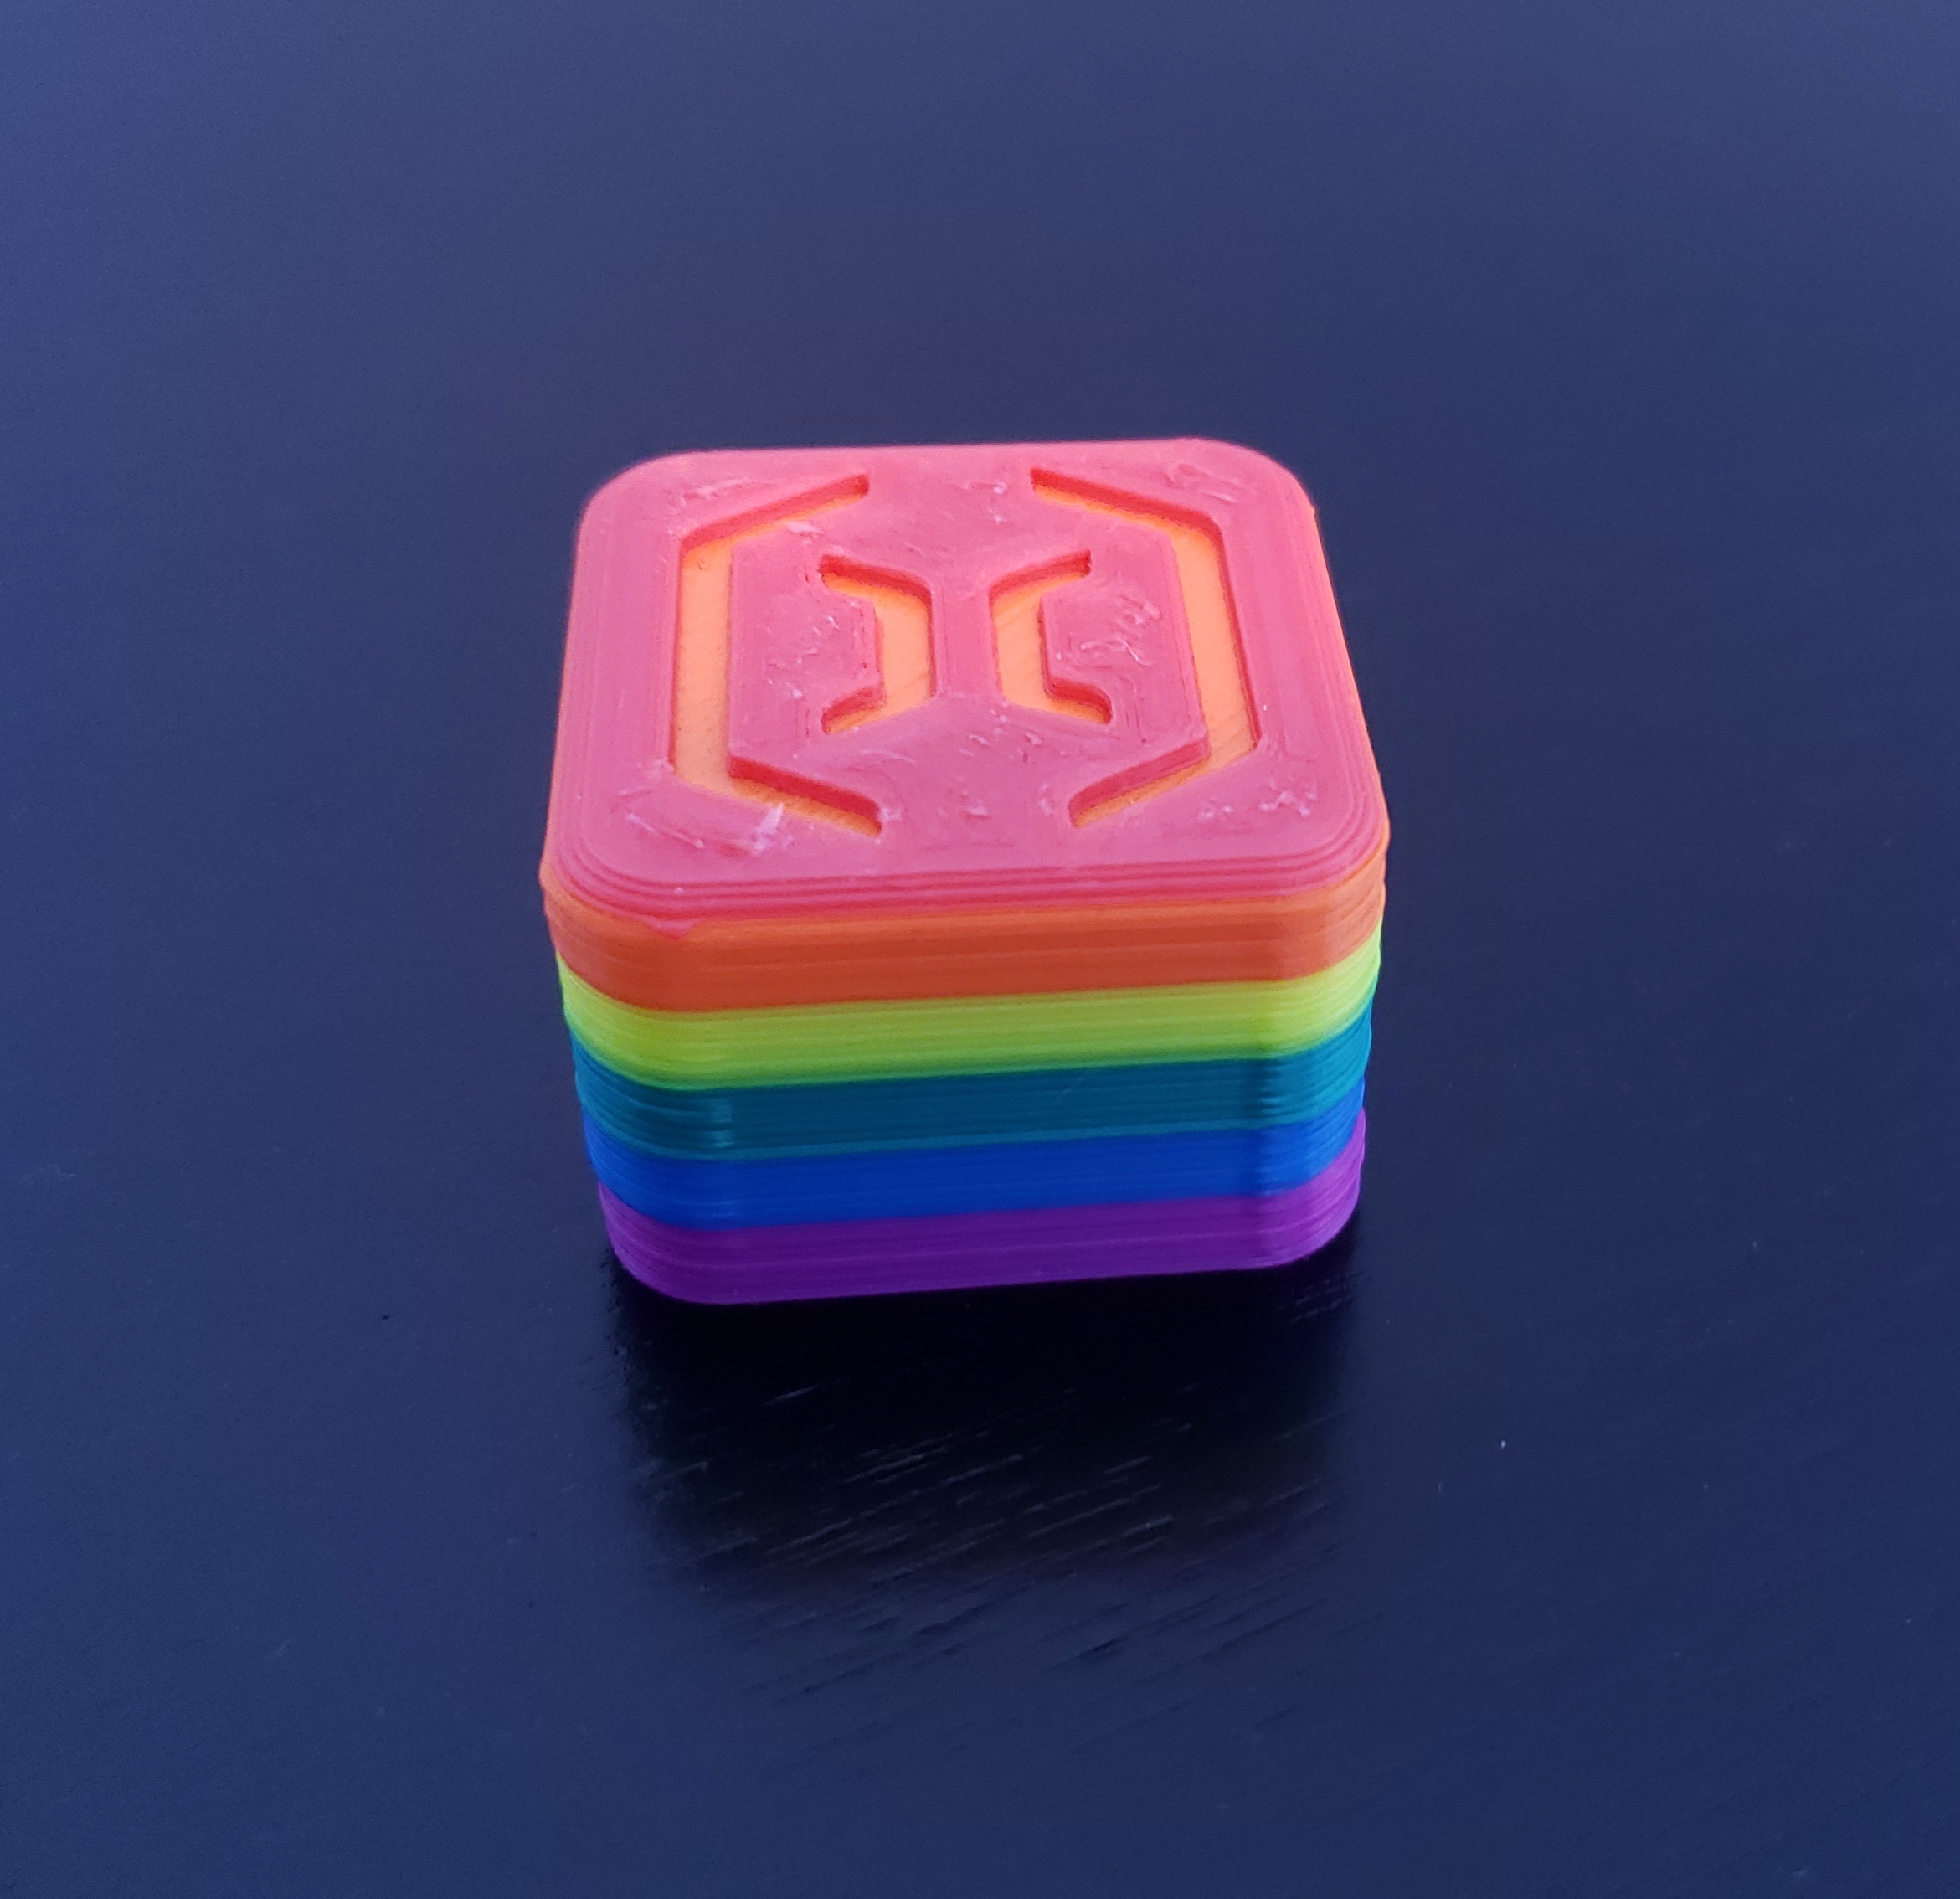
Multi-Color Printing
Printers with only one nozzle can only print one color at a time, but there are ways around this. There are three main methods to printing in multiple colors. The first method is quite obvious, it is to get a printer with more than one nozzle. An additional nozzle allows for printing in an additional color. Another method for printing in a second color is to add a stop command in the gcode of the print (more on g-code in the Models and Slicing page). This command will stop the print mid-way and allow the user to manually switch out the filament and then resume the print in a different color. The third and final method to get a print in multiple colors is to split up the model into different parts, and then print each seperately in the desired color. Each part can be made to fit together, or they can be glued together.