Models
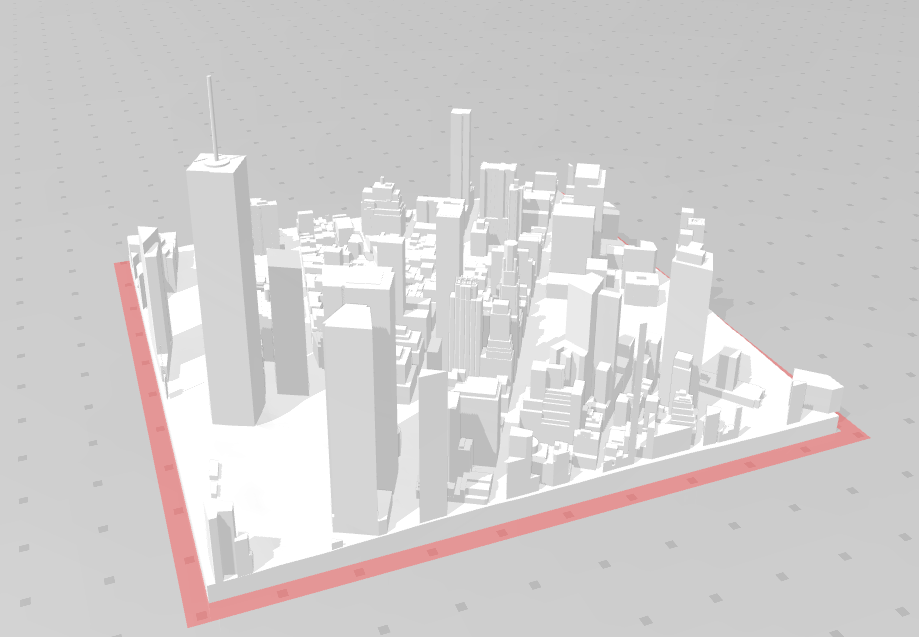
The 3D model is the computer model of what is going to be printed out. If you don't have a 3D model, you can't use the 3D printer. If you need a custom replacement part for something, you will need to learn how to create 3D models yourself. You can download programs or use browser-based 3D modeling sites. Another way to obtain 3D models is to use models other people create. People who make models upload them all over the Internet. A very popular site for sharing 3D models is Thingiverse, where you can download user-created models for free. The most common 3D model file extentions are .STL and .OBJ.
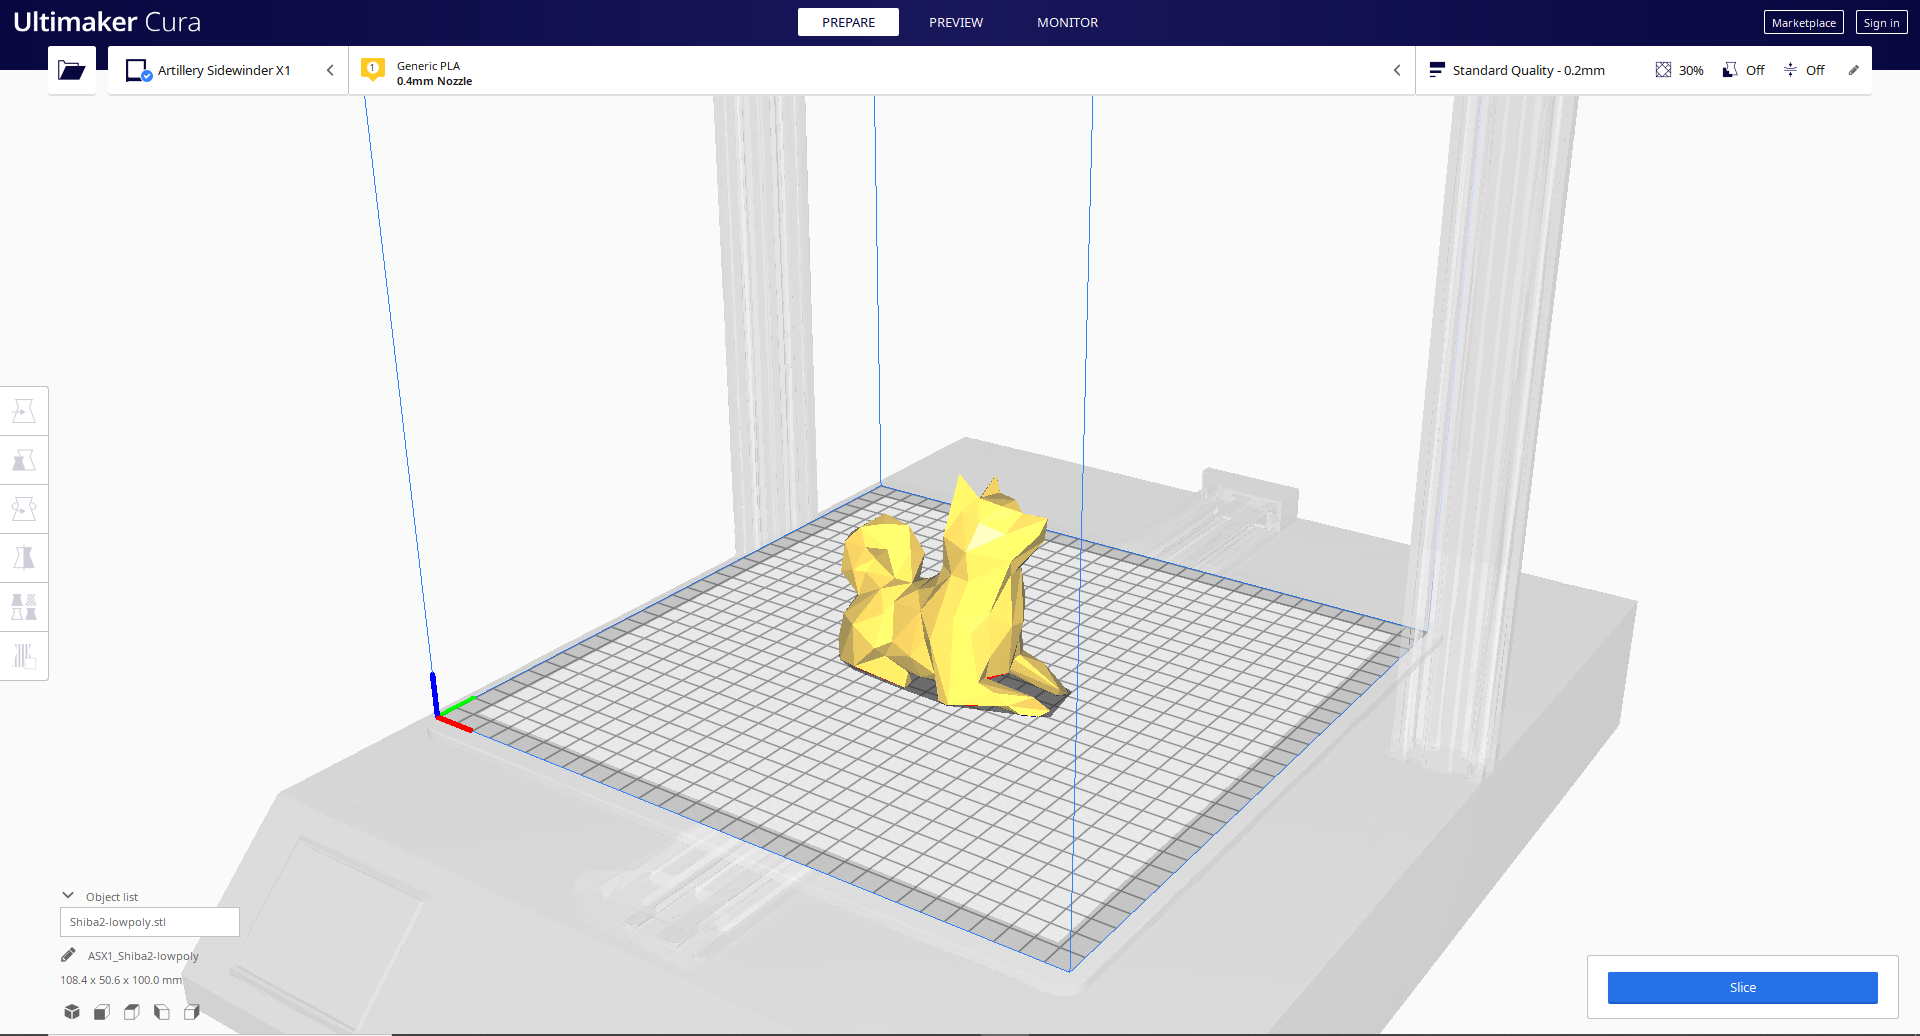
Slicing
Once you have a model, you must upload it into a slicer. The slicer converts the model into instructions that the printer will follow to create the 3D print. These instructions are written in g-code, a programming language that tells the machine what to do. These files have the extentions .gcode or .gco. You must slice your print, because printers are not able to read 3D objects. They can only read the g-code generated by the slicer. The most popular free slicers are Cura and Slic3r. The slicer controls almost everything about the print. Some of the settings that the slicer controls is the layer height; the amount of infill; the temperature of the nozzle and bed; extrusion speed; adhesion methods such as brims, skirts, and rafts (info on those is on the How to Make a 3D Print page); and whether or not it should print with support material.